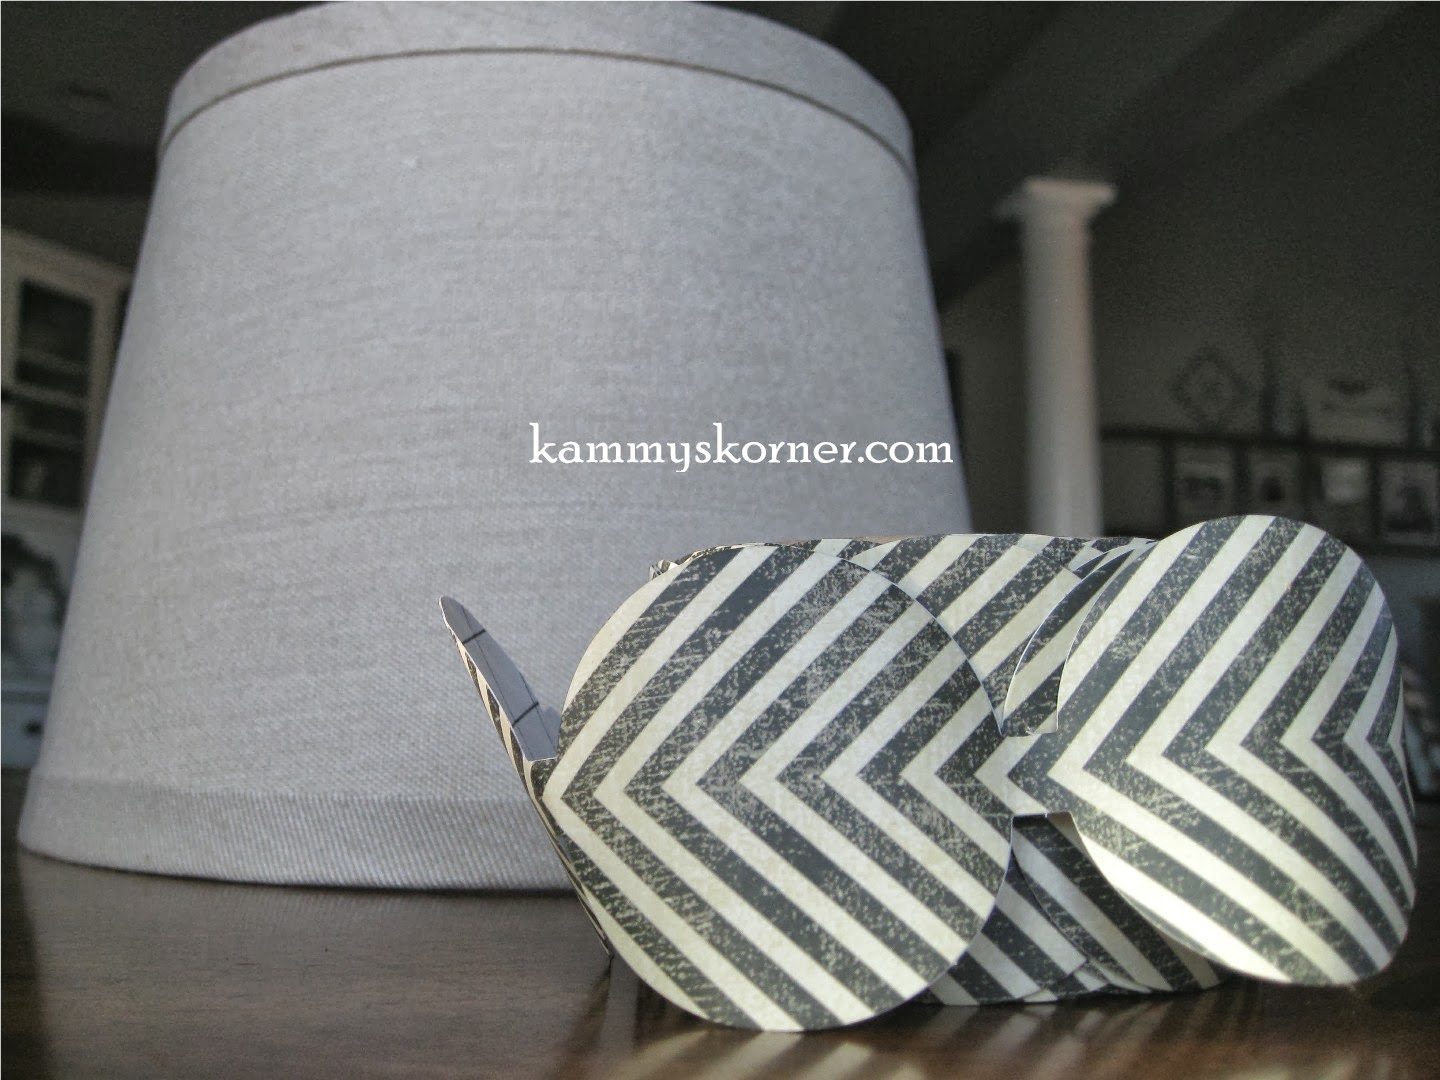
Showing posts with label lamp before and afters. Show all posts

Monday, March 21, 2016

Painting Lamp Shades Pros & Cons {Master Bedroom}


I can't believe I've gone over almost two years without a lamp next to my bed!!!  
I admit.  I'm scared of the dark.  I need to be hiding under my covers before I reach out and turn off the light, because somewhere between the light switch on the wall and my bed, someone is sure to grab me!  

But you know me.  I couldn't pay for new lamps.  Just couldn't.  I'd go to the store with every intention to just bite the bullet and purchase some but ahhhh I would get the guilts and put them back.

I finally found this pair in a Saint Vincent De Paul's on the parkade in Cedar Falls, IA while visiting family at Christmas time.   I liked the shape of the shades, even though they were dated and dingy looking, and the base was wood and you can always paint wood.  At $6 each, and not having luck anywhere else.... I snagged them.


I'm going to BE REAL with you in this blog post.  Painting a shade has it's cons!  Sorry to be negative, but you need to know this before going in to it!

 Here are the three major cons of painting a lampshade:

1) It makes the shade very brittle.

Be very careful with your shade once the paint has dried!!  It will crack easy.  So probably not good for a kid's room...  but I figure the master bedroom is safe from too much craziness.  No commenting on that. ;)

2) It takes a lot of paint and it doesn't always dry very even.

Lampshades really soak up the paint and can look blotchy once it dries. To make my paint go farther, I water down my paint a lot and really rub it in with the brush.  It's like giving it a "white wash".  When it dries, I repeat the process two more times!

3) Sometimes the blotchy-ness is not noticeable until you turn on the lamp.  The light will illuminate every inconsistency in your paint job!  Horrors.  But if you're like me, nobody really sees the lamps on in the bedroom but those who dwell in the house.  And me and hubby really don't mind. :)


 For the base, I mixed some dark gray and white paint and applied two coats.  I have no idea what made it dry this way, but it almost has a pottery texture.  I sanded off some of the edges to give it a distressed look.


The shades still aren't perfect, but neither am I, and I'm just glad to have something cute and matching on either side of the bed and to keep me safe from the boogie man.


Pin this image for future reference:


I am hosting a fun giveaway right now - Go HERE to enter!


Like what you see?  Follow Kammy's Korner on:


You might also be interested in:


TDC Before and After

Tuesday, February 25, 2014

Easy Layered Lace Lamp Shade


This is going to be a "mostly photo" post since this was an extremely simple project!
Pin It
I came upon a massive amount of lace for super cheap at a Goodwill awhile back.  I've been itching to cover a lampshade in ruffle-y lace for awhile now, and I finally had enough to do it.

I took pictures of the process, but my blogger nightmare has happened (again! But for good this time I'm afraid) and I lost my camera with a card full of pictures.  I used a piece of chalk to mark around the shade so I knew where to put the hot glue and worked from the bottom to the top.  I usually eyeball stuff, but I'm positive I would have ended up very uneven at the top if I hadn't used the chalk!  This project was very easy; just a little time consuming and you need to be prepared to go through a lot of glue sticks!

I assumed I'd put this shade on a cute lamp and try to sell it, but my little girl insisted it go on the lamp in her room.
It matches her shabby chic decor, so I guess it will stay!
To see all of Tori's Shabby Chic room, click HERE.


_____________________________________________________________________
Sharing with:

Savvy Southern StyleThe Shabby NestFunky_Junk's_Party_Junk_link_party_150
TDC Before and After

Tuesday, February 18, 2014

Gimme Jute and Hot Glue!

I love jute.  Growing up, we called it twine.  Or rope. 
Now that I'm a blogger, I guess I gotta be a cool cat and call it jute.

One day I was in Saint Vincent De Paul and I see this humongo bag of extra thick jute.
Exciting!  I brought the whole bag home and have used tons of it with still no end in sight!!


I hot glued it around a lamp shade....


hot glued it around this ugly gold basket....


 and even around a pillow!


Along with many other things, I adore using it as a heart on signs:


Pin It

Friday, October 11, 2013

A Graduation Gift Gets a Facelift {Lamp Redo}


Four score and twenty years ago.... okay I guess it was fourteen years and a few months ago, I graduated from high school.  I received a dark green lamp as a graduation gift.  Yeah, graduation gift?  What's that, you youngin's ask?  Seems like now-a-days people just give money.  Well a few years ago, people gave you things like towels, lamps, candy dishes... things for your "new" place perhaps. But those were the days before parents bailed kids out and paid for their kids rent because they didn't save enough that month.  Or *work* - gasp!  

So the hunter green lamp matched my home for a few years.  Then I spray painted it red to match new decor.  The spray paint, as you can see below, started looking bad after a few years and this lamp retired to a spot in the barn with other things that are patiently "waiting for an overhaul".  Well, I finally "over hauled it"!


Ain't it beautiful??  
I used chalk paint left over from my piano paint job and I can't believe how good it adhered to the slippery surface!  The shade was a plain one I had bought on clearance a few years ago at Big Lots.

I found this adhesive decorative tape/ribbon on clearance at JoAnn's and it looks super cute on this shade! Talk about EASY.  Just peeled the back off and stuck it in place!!  My kind of shade makeover, right there.


Pin It


Tuesday, October 16, 2012

Lamp Redo With Paint And Fabric Scraps

UPDATE! This post was originally written back in 2008.
I realize the styles have changed significantly and my photos are bad!  Haha!

Click HERE to see the PROS and CONS of painting a lampshade.
It totally depends on what material your shade is made out of.  This post was a faux leather shade, so was not very transparent and worked great.  The ones I painted in my bedroom however, were a different story, but I'm still glad I did them.

 SAME lamp, SAME shade:
Can't even remember where I picked up this lamp, but chances are real high it was either a garage sale, Goodwill, found on the curb, or my mom did one of her magic tricks when she comes from Iowa and makes lamps magically appear around my home.

Well since the den got a makeover, and the log lamp has replaced this one, it was time for it to get a facelift!  (Or I just happened to have some white paint out from painting trim and scanned the room to see what else might look good in white.  Yup, that's how it was).

Even the lamp shade got paint treatment.
And what possessed me to ever do this?  Well, I've been making a pile of rag wreaths for a craft show coming up and had some extra strips and started tying them around the lamp for kicks... and decided it was kinda cute.
The first emellishment I put on the lampshade was such an epic fail, I didn't even take a pic.  My awesome friend Sarah dug me out of my creative hole and suggested while we were making these lovely fabric flowers for hair bows today that they might look good on the shade.  Sarah!  You're a great rescuer!  Just perfect.  


Pin It


Like what you see?  Follow Kammy's Korner on:


You might also like: