Showing posts with label furniture makeovers. Show all posts

Wednesday, April 24, 2024

Making The Curvy Straight and Rub'nBuff Rave [Dresser Makeover]

When my husband gets a text that says "Does your wife want this dresser taking up precious space in our garage?" he knows he doesn't even have to ask me. That'd be like asking the one thousand pound sisters if they want ice cream.


First thing I did was remove the ugly pulls and sand the top down to bare wood.


Sometimes curvy is good. 
But nah.... not for this guy.
I've seen where people rebuild a new base for the dresser to make the lines straight. 
But nah.... ain't got time for that.
Just needed a quick chop-chop!

Mid Century Modern is "it" right now. And Mid Century Modern is loads of lines. Straight lines.
This dresser may not be MCM, but we're going to update him to a new level of sophistication.


I used a square, drew my lines, and cut off the curves with a scroll saw.
Easy peasy lemon squeezy.


Sorry, no pics of the paint process, but I used a really good primer and then used my new paint sprayer (piece of junk from China if you really wanna know, but it does the trick) with a flat black.

Now the pulls. I found three for the top in my stash and four matchers for the bottom. Unfortunately I needed different sizes and that was not easy, hence why the top differs from the bottom. Sorry OCD people. 

Enter Rub'nBuff, which is pretty much magic. Takes old dingy looking metal and makes it gorgeous in seconds. It's one of those things I've heard about for years. Decades. But since I tend to use products I find in the free box at estate sales... it's not something I've come across therefore have never possessed!
Let me tell you, I'm highly annoyed at my little self for not trying this sooner. You can just rub it on with a rag or because these pulls had lots of grooves, an old toothbrush worked well. My friend said she uses a makeup brush.


The bare wood got a couple coats of polyurethane, which changed the color of the wood more than I would have liked, rats, but I'm not about to take it off and start over. It ain't what it ain't. (My friend and I were discussing how we're over the saying "it is what it is"...so it ain't what it ain't.)


Pretty paper in the top drawers.....


And now if you'd please share the love by pinning this image on Pinterest I would be ecstatic.
Thank you!!


Follow Kammy's Korner on:


You  might also like:


Thursday, February 1, 2024

Beachy Vibe Dresser


My mother dear is the best. She sees little dressers like this for a few dollars at a garage sale and she snags them for me, even though she has to bring it 500 miles to get to me! :) Maybe it's her excuse to see the grandkids.  Maybe.

When I stashed all of these wood dowels upstairs in my workshop, I had no idea I would end up using them in so many different ways - especially for drawer pulls!


I had to break one of my rules about "buying new" because I really wanted to try using these metal "two hole straps". What on earth, I was in Lowes looking everywhere for these, I didn't know to say "Hey sir, can you tell me where the Two-Hole Straps are? Something tells me Mr. Lowes Dude wouldn't even know what I was talking about. It took lots of aisle wandering before I found them.


I used some wood glue on the back of the dowels too, because some of the clamps ended up a little loosey-goosey and I didn't want them sliding out so big brother could use them on a little sibling. Just kidding. I don't care.That's what makes younger siblings so tough. Uhhh... just kidding again.


I found a piece of wood trim and cut it to fit across the bottom. I keep every piece of wood - just in case! And there's always eventually a "just in case!" I mean if I have the room (sheds and barns).... why not hoard all the things? It's what keeps me out of the hardware stores!

I used different shades of grays and blues, mixing them together and adding tans... The stencil on the top drawer was just one of those cheap all-over stencils you get in the big packs at Walmart. The annoying ones that you have to punch out the whole design and not rip any while you're at it since they're made out of tagboard. It's worth it though, they're cheap and I use them a lot!


So I loved how it turned out, but it didn't sell at my huge two-day barn sale. It was still in my barn a few weeks ago when one of my sweet Airbnb guests asked if she could take a peek inside the big old building. She spotted this and thought her daughter would love it. She packed it into the back of her little Prius and drove it 530 miles home, where her daughter welcomed it with open arms. Yay!

Like it? Pin it! Please and thank you!! :)


Follow Kammy's Korner on:


Like what you see?  Check these posts out!


Monday, January 22, 2024

Tinting Green Paint Olive & An Antique Dresser Makeover

If you could describe this "before" in one word, what would it be?
Kitschy perhaps?
Once I started sanding the paint off, I actually felt some pangs of guilt! At one time, someone had used their artistic talents and hand painted those flowers on the drawer fronts. So unappreciated now, and I felt some remorse for removing all that effort with my orbital sander.


I love my Ryobi orbital by the way. I accidently bought sandnet once while in Home Depot and have been using it every since. I still use conventional sandpaper, but for my big jobs I use this for the first tough layer. It definitely has a longer life than the regular stuff! You can pull it off, shake it out, put it back on, and keep at it.


In typical Kammy style, I mixed my own paint color.  But here's a trick for ya!
I'd like to give you a second to see if you can guess what color you add to green to make the shade more "olive-y".
Brown? Wrong. Gray? Wrong. 
If you have a green paint that you would like to tint to be more of an "olive", "army" or "sage" green, you add some red! Trust me, it works! I think for this one I started with a John Deere green, added some dark gray, and little tan perhaps and the magical ingredient - RED barn paint! Can't remember the combo for sure, but don't be afraid to stir in that barn red to get the most beautiful tints of the trendy green colors!


My mother in law gave me a gift card for Hobby Lobby awhile back. I was ecstatic. Pick out ANYTHING IN THE STORE?! The decisions seem endless and overwhelming. I rarely buy any decor new. And I most certainly never buy new pulls for my refurbished furniture! But there was a great choice of boho pulls that I just couldn't resist.


It was equally hard to decide what to put new said pulls on... but I decided they looked great with this green and would do the trick on this beautiful dresser!


I gave the raw wood top a white-wash treatment (watered down white paint, then wipe it off with a rag). You can probably find a good tutorial by googling it. Cuz I'm coming up short in that department today.

If you happened to notice the painting above on the dresser, it is one of my mom's originals. 
I'm so geeled she has revived her talents after hardly painting for over two decades! If you're interested, she sells her paintings locally in Cedar Falls, Iowa or I have them in my booth at the Parma Antique Mall in Parma, Michigan.


Like it? Please do me a huge favor and pin it! :)


A peek into my booth where a few of my mom's paintings are available
top left:


Follow Kammy's Korner on:


Like what you see?  Check these posts out!


Wednesday, October 12, 2022

Repurposed Antique Stereo And Vintage Painting (Print)


Welcome to the stereo redo!
This one took a little elbow grease. 
Elbow grease? Sometimes phrases hit me weird when I type them out. I just googled "elbow grease" and found it was first published in a satirical book on the English parliament in 1672.

Let's see the "BEFORE" photos so you can see what I mean!


The front part pulled out at an angle to reveal a record player. I cut all the wires, unscrewed all the screws, and then called in the big guns (my 16 year old son) to put one foot the top corner of the door, while I put my foot on the other corner and on the count of three we jumped. The door cracked off, the turntable went sailing, I screamed, and Tobin said "Am I done?"


I deeply regret not taking more photos of the makeover process. I used a wet rag and a hot iron to get the very damaged veneer off the top. You can see a short video tutorial on how to do that HERE. (Link will take you to my facebook page where the video is uploaded).

I had just happened to pick up some scrap wood from an older gentleman who stopped me on Main Street and told me to come help him clean his garage out. I took a whole load home and promptly put some of the boards to use as the "floor" in the stereo cabinet.


I was scanning my shop for a piece of wood I could use across the back when my eyes landed on an old framed painting. I loved the idea of using it for the back after holding it up and seeing the uniqueness but I was afraid others wouldn't go for it. After searching for a few minutes and finding nothing suitable, I decided the painting was the way to go!  I used my miter saw to cut it down to size. I have discovered the hard way that it's never a good idea to cut anything other than wood with this powerful tool... but this was thick enough that it didn't cause me any more gray hairs and actually cut nicely.


Darn. I had to cut off that cute little barn.
I used my cordless Ryobi staple gun to attach it to the back.


Now if I only I had that 4th knob........

Like it? Pin it!


This, along with many other furniture upcycles and decor will be for sale in my barn on November 4th & 5th!
Check out the details here:


A couple more makeovers that will be for sale in the barn:


Follow Kammy's Korner on:


Like what you see?  Check these posts out!


Friday, December 3, 2021

Dixie Belle SILK Paint Review - 3 Projects With One Pint


I have a barn packed with curbside and hand-me down furniture waiting to get new life.
So when Doug from the 
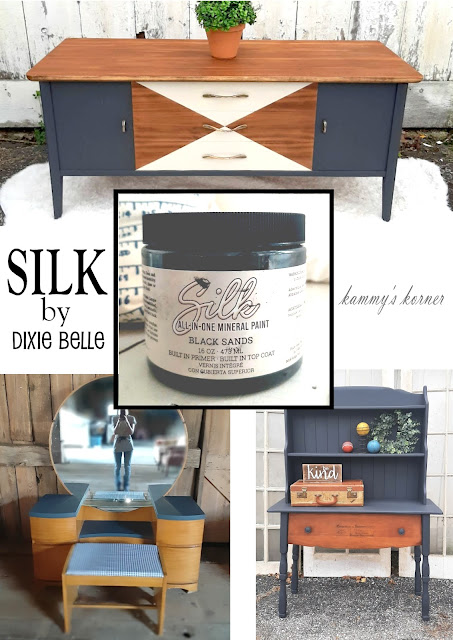
Parma Antique Mall (who has a large variety of Dixie Belle Mineral Paints and products for sale) asked me if I would try the upgraded SILK line and share the results with you all, I said sure! 
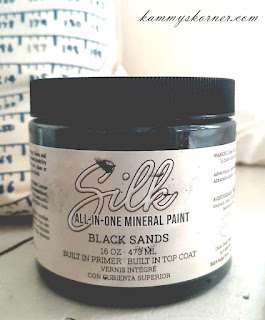
I chose the color BLACK SANDS because years of experience has taught me that neutral colors sell!! I used to paint a piece orange and it would bring in the comments alright but nobody wants an orange end table in their living room. And annoyed me would think "well I know it's wild, but it's SO COOL! Can't ANYONE step away from their monotonous white or black? It's called a conversation piece! Everyone, please stop being so lame!" Well, yeah, I don't really take my own advice.  Neutral furniture abounds in my home.


So Silk boasts that it has a built in primer and top coat.
I learned after my projects that the primer is more for coverage than adhesion.  So a light sanding is recommended.  Or if you hate sanding, you can use a Dixie Belle product called Slick Stick.  Though I haven't tried it yet, you're supposed to be able to paint anything with a "slick" surface after applying it - even glass! So of course, I learn through experience, not research and/or other people's mistakes.  Haha. As far as the coverage goes, if something does happen to bleed through, wait for it to dry (overnight is ideal) and apply a second coat. So let's talk about what worked and what didn't!

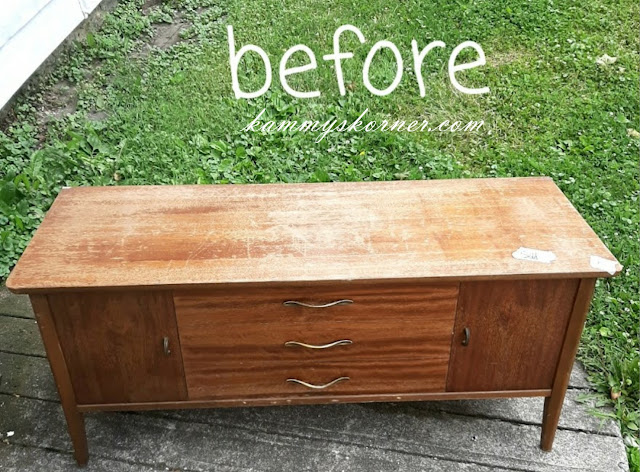
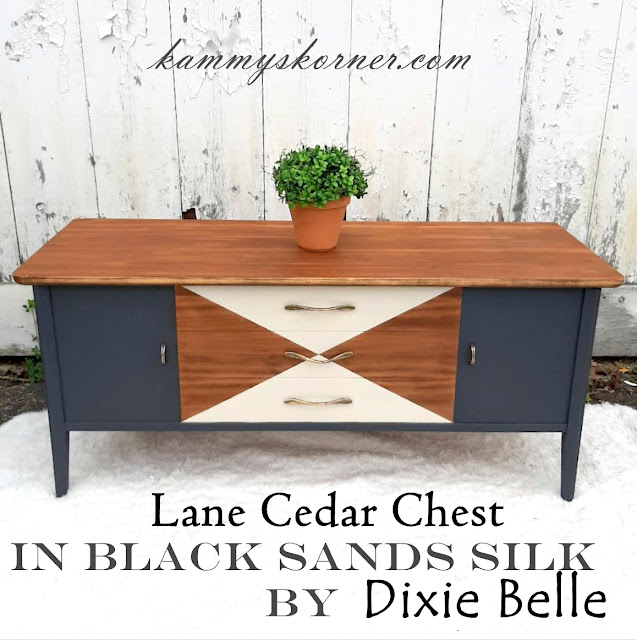
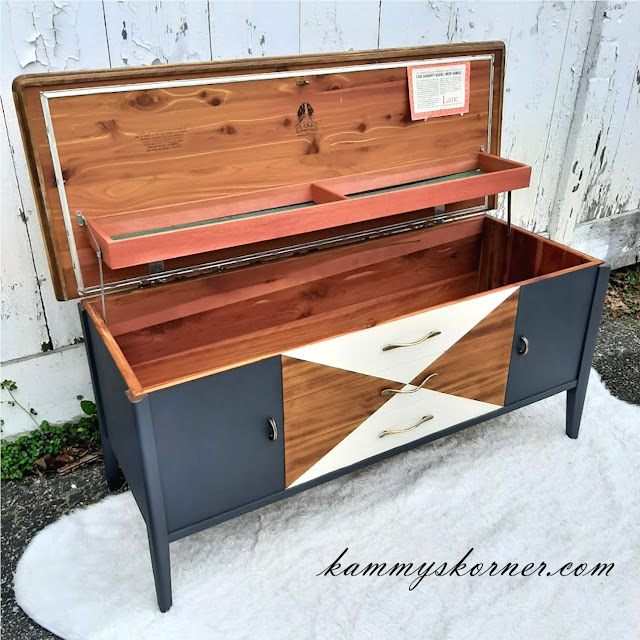
First up is this Lane Cedar Chest.


I had already sanded the daylights out of it because I thought I was going to refinish the whole thing.  Then I lost my motivation and there it sat, sanded and sad. And there I sat... waiting for inspiration to hit.
About the same time I got the Black Sands SILK mineral paint... I saw some cool three-tone pieces someone had posted on Instagram. Now I'd been doing lots of TWO tone, but not THREE!


The paint seemed to adhere very well and went on smoothly with it's self-leveling element which helps eliminate any brushstrokes.  I recommend using a Dixie Belle paint brush or similar soft brush. It dries from the top down, so give it time to dry (even if it feels dry) before your second coat or it will mess up the nice finish. It is a thinner paint than chalk paint but covers well. You will need to do a second coat, but that should do it.  I just love how this piece turned out! The off white was something I already had on hand (a mistint) and I used walnut Restor-A-Finish on the wood. And to think I picked up this chest for $5 at a yard sale! :)


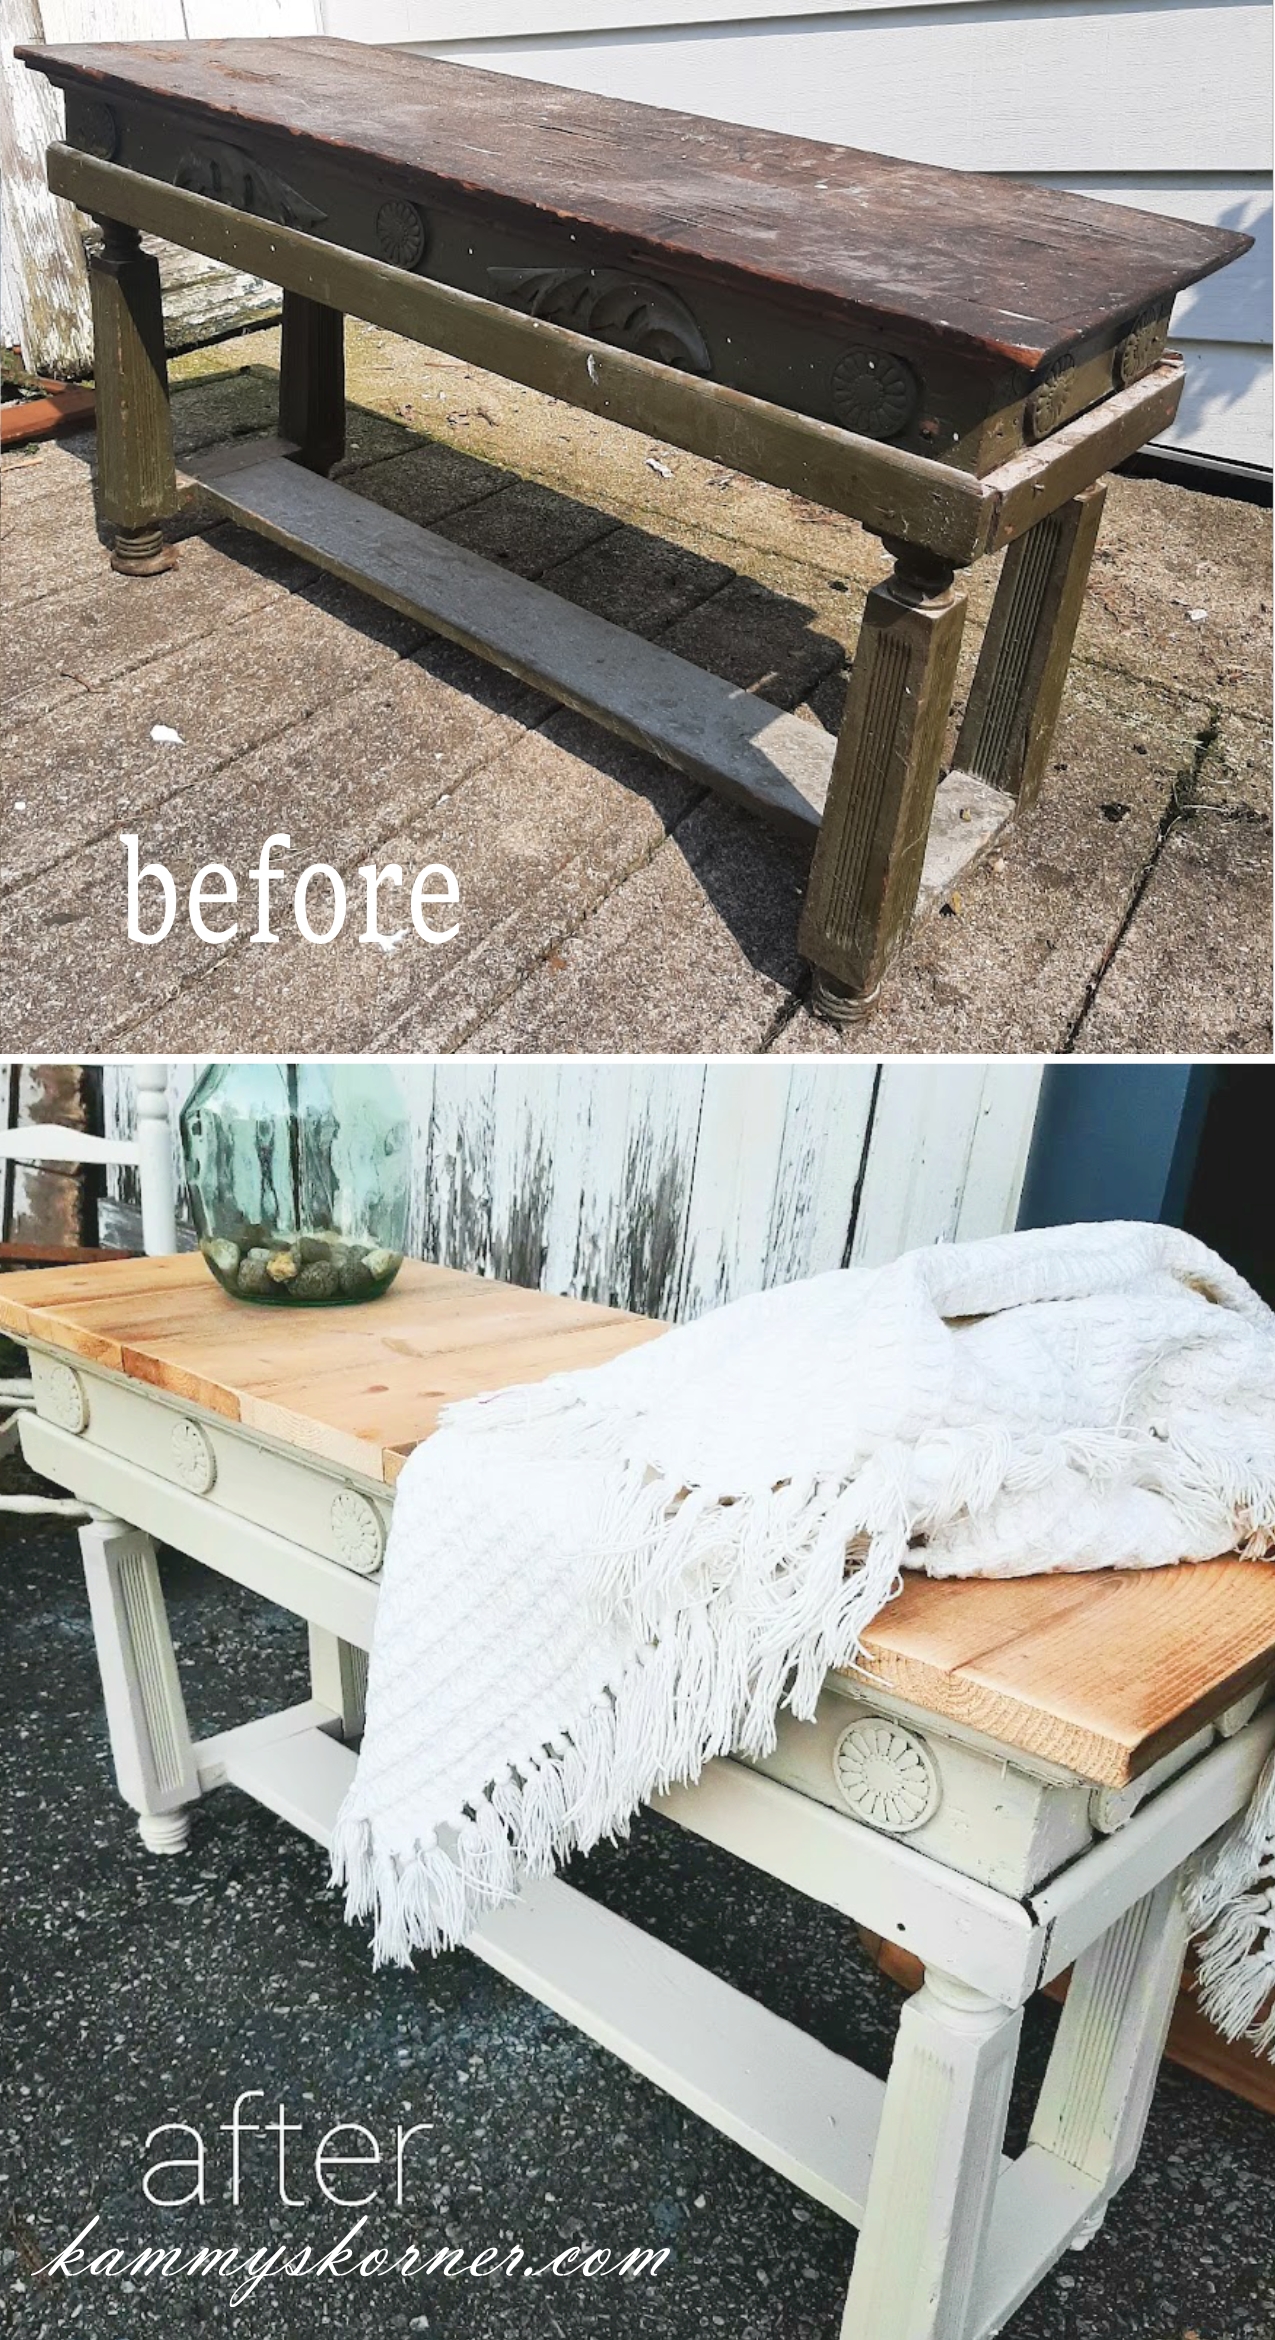
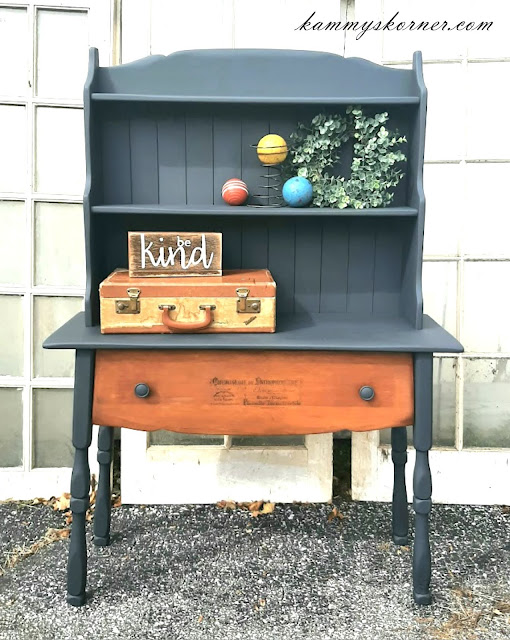
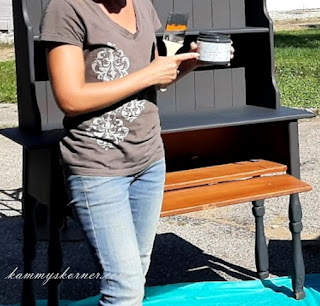
This next piece was an antique baker's shelf.  Now this one didn't have quite the outcome I was hoping for, but it's also my fault. It had a shiny wood surface and here's where I decided the built in primer should be good enough and I skipped the sanding. My bad.  Should have researched what other's experiences were! The paint went on well, and I waited to apply the second coat... but even after it dried, the surface still seemed to scratch easily. Remember when I said the primer was more for coverage than adhesion?  Well here we go. I figured if I let it sit a few weeks it would be fine (30 days cure time is ideal for any paint) but time didn't seem to ease my debacle and I had a barn sale coming up that I wanted to sell this at!  I went the polyurethane route, and sealed it all up. I'm just gonna say here and now I hate polyurethane. Just like labor unions, it's often a necessary evil. ;) So while the color suited this piece extraordinarily well, I... you know....  poly..... 


But shucks, look how charming this turned out?
I heart it. (Does anyone even say that anymore?)


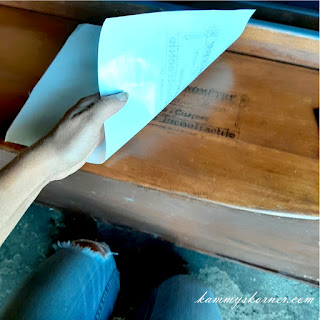
If you're curious about the French graphic I put on the wood front, check out how to easily do that using freezer paper HERE.


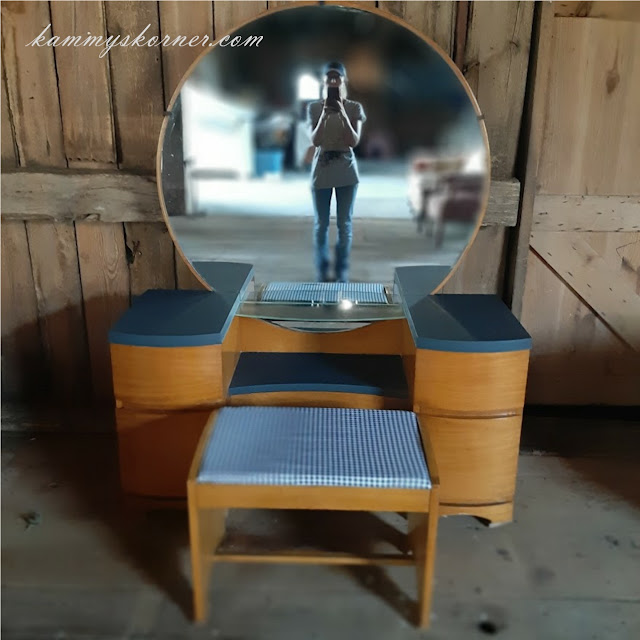
And last but not least, I used the final bit of paint for this mid century vanity set.
The wood was pretty nice on most of it, so I just touched that up with some Restor-A-Finish, recovered the seat cushion (looks like I need to tighten that a little) and painted just the top surfaces of the vanity for a little contrast.  I love how it turned out! Very vogue... and for sale if anyone is interested!

While chalk paint is great for distressing, I would say Silk Mineral paint is more for a polished look. It doesn't seem to rough up as well.  Just my take on it.


If you are local to the Jackson, Michigan area, get yourself over to the 

December 11, 2021 there will be a holiday open house in which ALL Dixie Belle Paint
 will be 20% off!
This would be a great time to try it. I have many friends who will only use Dixie Belle paint - come see what all the fuss is about!

Also, for every $100 you spend at the Parma Antique Mall at the open house, you will receive a
  $10 gift card!

Like what you see?  Follow Kammy's Korner on:


You  might also like: